Beginner Sketching Techniques That Actually Stick
Start with the fundamentals — line control, shading, and proportion. Most beginners skip these basics and regret it later.


Why Foundations Matter More Than You'd Think
Most people dive straight into drawing complex subjects. They'll sketch a face, attempt a landscape, or try still life compositions — all within the first week. Then they get frustrated when nothing looks right.
Here's the thing: you can't build a solid drawing on shaky foundations. It's like trying to paint a room without prepping the walls first. You'll spend twice as long fixing problems that proper technique would've prevented entirely.
The fundamentals we're talking about aren't glamorous. Line control. Shading transitions. Understanding proportions. These skills take 4-6 weeks of consistent practice to develop properly. But once they stick, everything else becomes easier.
The Reality Check
Professional artists still warm up with basic line exercises. It's not that these skills become irrelevant — they become automatic. You don't think about them anymore. That's the goal.
Master Line Control First
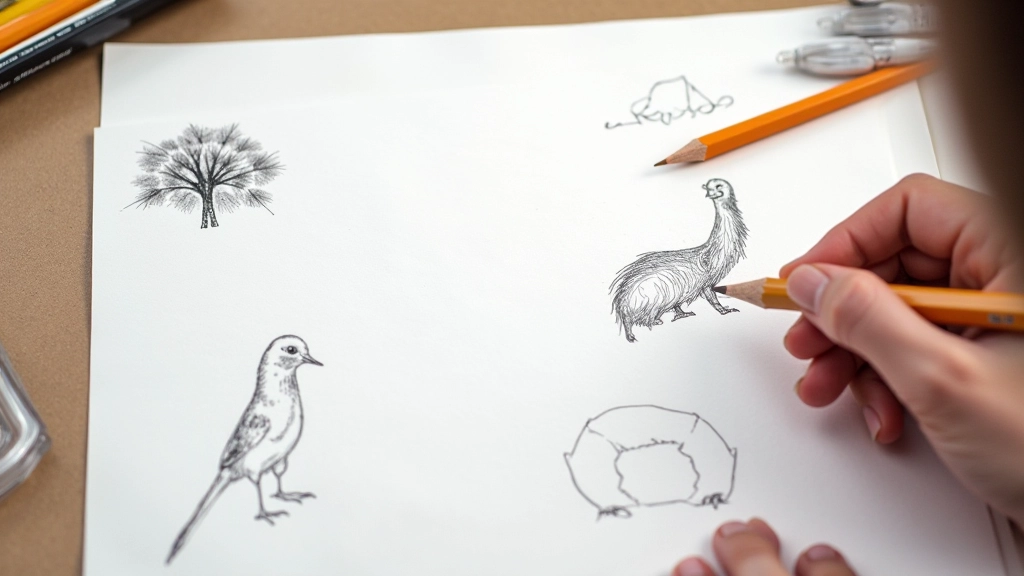
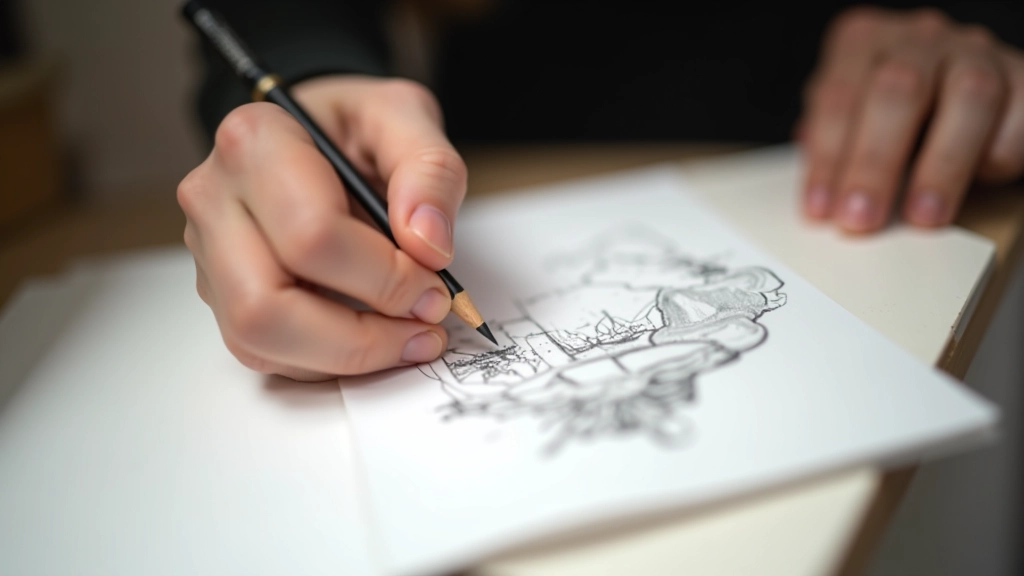
Line control is where everything starts. Not fancy hatching or fancy techniques — just the ability to draw a line where you intend it to go.
Grip Matters
Hold the pencil lightly, about 2-3cm from the tip. Your hand shouldn't be tense. When you grip too tight, your lines become shaky and your hand tires quickly.
Use Your Whole Arm
Don't just move your fingers. Engage your whole arm for longer lines. This gives you better control and steadier results than finger movements alone.
Practice Daily Warm-Ups
Spend 10 minutes drawing straight lines, curved lines, and circles. Do this before every session. You'll notice improvements within 2 weeks.
Sketching isn't about having a "natural talent" for steady hands. It's a skill you develop through repetition. And honestly, it's oddly meditative once you get into it.
Shading and Tone Create Dimension
A good line drawing is flat. Add shading, and suddenly it has depth. This is where your drawings stop looking like sketches and start looking like actual art.
You don't need expensive materials. A 2B pencil and blending stump (or even a tissue) will do everything you need. The real skill is understanding light and shadow.
Key Shading Principle
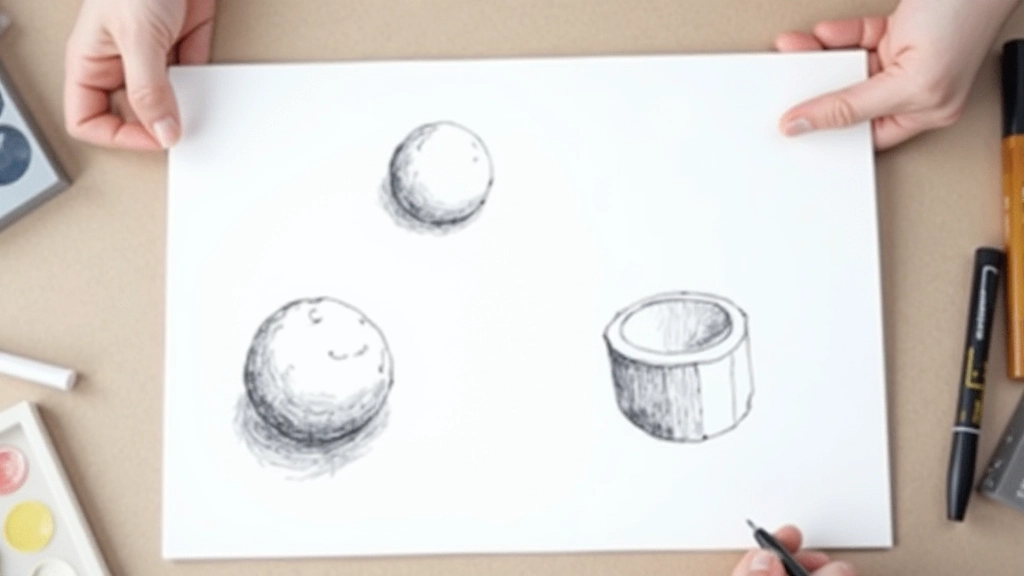
Light always comes from one direction. Decide where your light source is, then shade everything away from it. This single decision makes your drawings look instantly more realistic.
Start with simple objects — an apple, a cube, a sphere. Spend a full week just shading these. You'll learn how tone transitions work, how to create smooth gradations, and how shadows anchor objects to a surface.
Educational Content Note
This guide presents established sketching techniques used across art education. Individual learning pace varies based on practice frequency, prior experience, and personal style. Results depend on consistent practice and personal dedication. For personalized instruction, consider joining a local art group or U3A class where an experienced instructor can provide feedback specific to your work.

Proportion: The Skill That Changes Everything
Why does your portrait look off even though the lines are clean? Usually, it's proportion issues. The eyes are too far apart. The head is too wide. The chin is too prominent.
This is where the grid method comes in. It's not "cheating" — it's a tool professionals use all the time. Draw a light grid on your reference image and your paper at the same scale. Then copy what you see square by square.
After about 30 drawings using the grid, something clicks. Your eye starts to understand spacing and relationships. You'll stop needing the grid because your brain has learned to measure visually.
Measure Constantly
Use a pencil held at arm's length to compare proportions in your reference. How many head-widths is the face? This habit alone improves accuracy dramatically.
Draw Lightly First
Your initial sketch should be barely visible. This lets you make corrections without erasing heavily. Once proportions look right, darken the final lines.
The Path Forward
You don't need natural talent. You don't need expensive equipment. You don't need to be "artistic." You need consistent practice focused on fundamentals.
Spend the next month on line control and basic shading. Don't worry about creating finished pieces. Just do the exercises. Do the warm-ups. Keep a practice journal where you record what you worked on each day.
By week 6, you'll notice something: your hand obeys your intentions. Your shading looks smooth. Your proportions are accurate. These aren't small victories — they're the foundation that makes everything else possible.
And if you want community and feedback? That's where local art groups and U3A organisations come in. Drawing alone is fine, but drawing with others accelerates learning and makes it far more enjoyable.
Ready to Develop Your Skills?
Join a community art group where you'll get hands-on feedback and meet other learners at your level.
Explore Community Art GroupsRelated Articles